
Using Google Slides is a powerful and effective way to build presentations that can later be shared in a variety of ways. As a teacher you can use it to compile materials similar to how you would use Microsoft PowerPoint. For students, it’s a great way to collaborate and build projects.
INDEX
- Creating a Google Slideshow
- Creating from a template or start from scratch
- Overview of Slide Types & Themes
- Placing content and formatting
- Changing Master Slides
- Importing Video into your Slideshow
- Exporting Slideshow (publishing, etc)
- Video Transitions
Creating a Google Slideshow
 Once you’ve logged into Google and opened a new window or tab, look for the
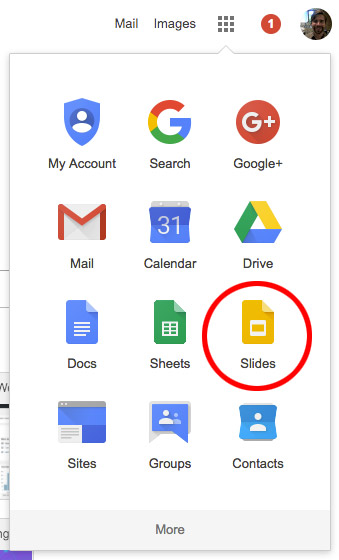
 ![]() icon and then select Slides.
icon and then select Slides.
Creating from a template or start from scratch
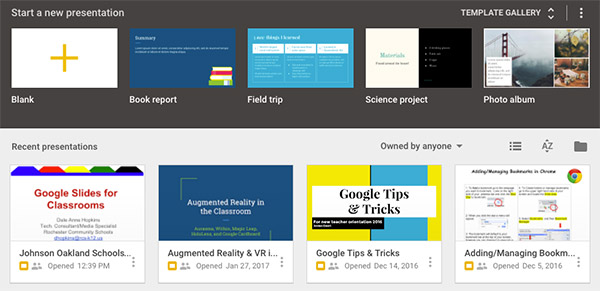
This is the page you will see when first clicking Slides. For a blank template (which you have the freedom to change later) click the + Blank option. Other templates with pre-filled content you can remove can be selected from the Template Gallery as shown by the top five rectangles above (+ blank, Book report, Field trip… etc)
Clicking the words “Template Gallery” will take you to our WWCSD templates because it’s tied to our organization. If you don’t see a template you like worry not, for you can find more.
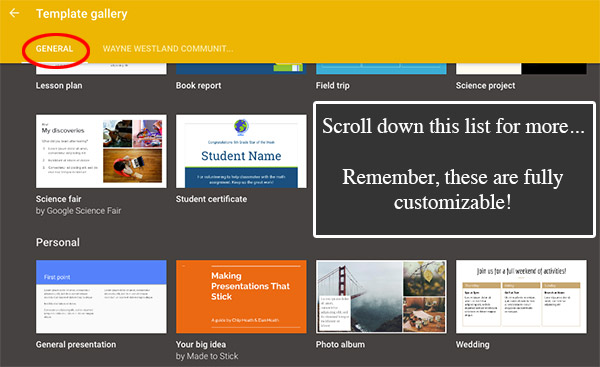
By clicking General you will see more options. Some of these were submitted by others and some were made by Google. Don’t get too caught up with specifics… Colors can all be changed. Pay more attention to the layouts.
Overview of Slide Types & Themes
Let’s start with a blank template because it better demonstrates just how easy it is to make big changes on-the-fly. First, take a look at this cheat sheet to get a sense of your layout.

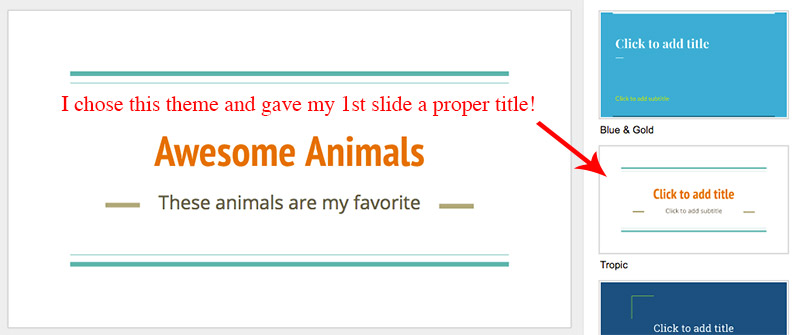
I’ve gone ahead and added a title + subtitle, as well as a more interesting theme to show you.
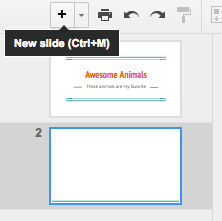 When you add a new slide you will be creating a Title and body type slide, which is the default. If you’ve added another type of slide and then click the + icon, you will get a repeat of the previous slide selected. If you don’t want to create this kind of slide (i.e. you want t blank slide or maybe a two-column layout) you’ll need to select the new slides icon arrow.
 ![]()
This is illustrated above as well but it’s so important I might as well say it twice. This new slide arrow option means everything!
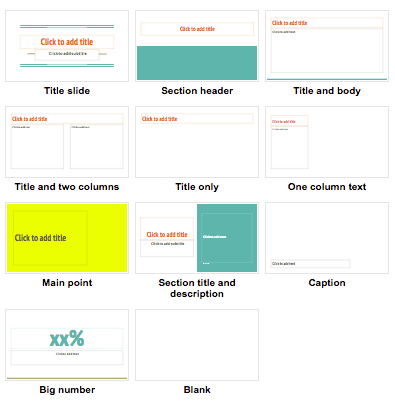 This is what you get when you select that new slide arrow option… a bunch of other page slide options! How this looks is altogether determined by your theme (compare to my blank slide diagram in the intro of this tutorial to see what I mean).
No matter what you select, all of the text elements are editable. Even the graphics are editable…with a little background master slide editing that is.
Placing content and formatting
I’m going to jump back into my slideshow and show the default Title and body type slide instead of selecting something else.
You don’t need to necessarily change much from the default slide. This animated gif above illustrates the ability to drag and drop images from an online source into your presentation and adjusting text-box size afterwards. Overall, Google Slides is pretty adaptable.
This animation shows how easy it is to copy / paste content into your slides.
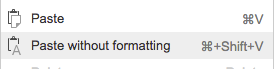 You may want to use the paste without formatting keyboard shortcut (or use the edit menu as shown here) to paste in content from other sources without disrupting the natural colors and sizes of your theme. This keyboard shortcut will save you the time of having to re-format your content later so don’t overlook this.
Changing Master Slides
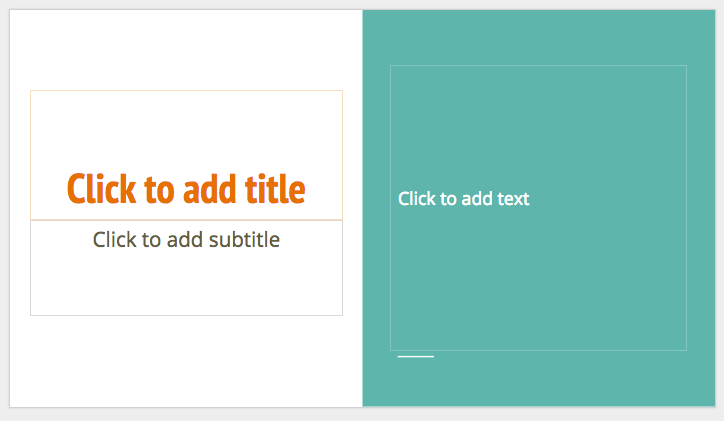
This is how the Section title and description looks originally with this theme. For this example, I want to use the white space for placing YouTube videos in and the green for some fun facts. I want to make the white space 2/3 instead of 1/2 the size it is.
How to make the change
Step 1: Have the correct slide selected.

Step 2: Slide > Edit master
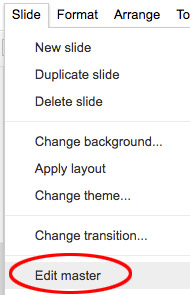
After you select this it will already be selected once you get the next screen.
Step 3: Begin making your changes
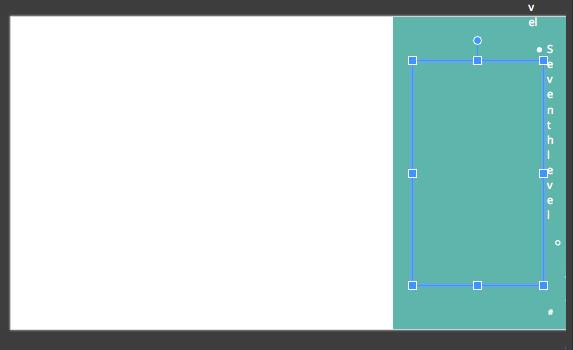
I’ve moved over the green/teal fill to the right and also moved the text-box. I removed the title and subtitle as well, since I plan on placing videos in this section. If you see jumbled up text like this from moving a text-box around, don’t worry about it… This is just a template and won’t affect your text when you actually decide to begin writing.
To get away from this Edit master section, just click any of your slides thumbnails.
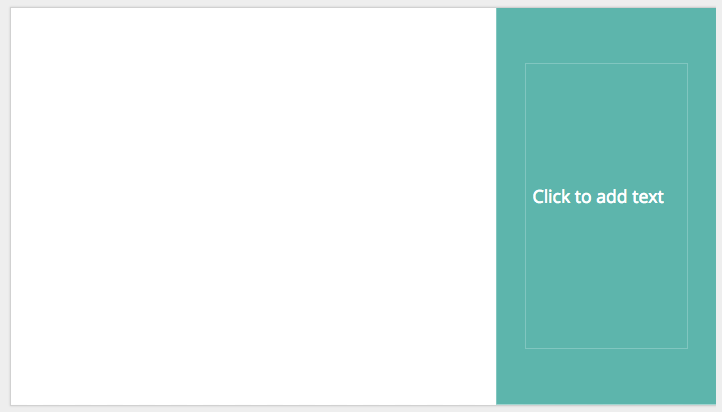
See how much simpler and clean this looks? From now on this will be what I see when I select Section title and description. This technique works with any slide!
Here is another example of changing a master slide. Everything about each slide-type is customizable!
The takeaway from all of this is that if you enjoy a theme, don’t worry about the subtleties that may annoy you about it. Embrace the theme and tweak what you need instead.
Basic Editing Options
Changing background(s)
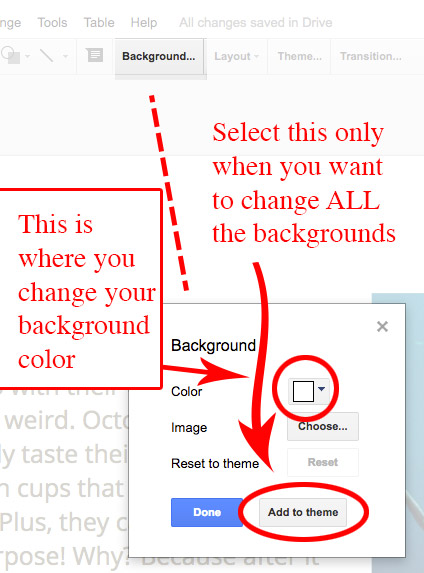
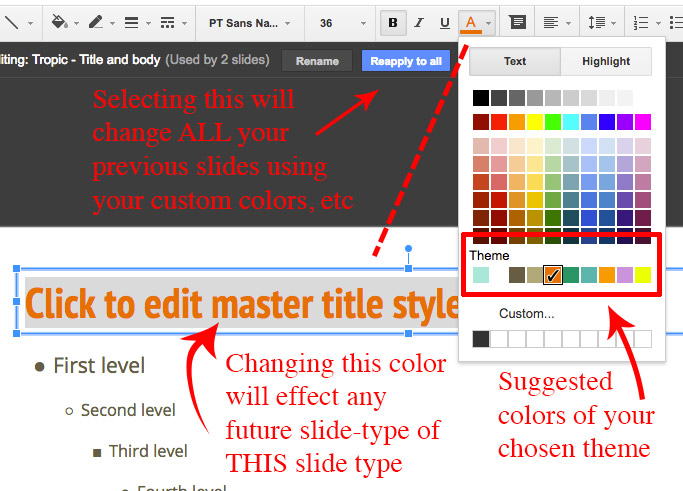
As noted, you can change all background colors to every slide without going into master slides. Everything else (like font-colors and other elements) must be changed through the master slide editor.
General Slide Options (not text or element options)
![]()
This is the bar that shows up when you’re working in general slides. We’ve already covered the ![]() new slide option above.
new slide option above.
![]() the print icon will print your presentation. It formats your print to aspect ratio you’re presentation was set up for (typically 4:3 or 16:9).
the print icon will print your presentation. It formats your print to aspect ratio you’re presentation was set up for (typically 4:3 or 16:9).
- See my tip about page setup in the “exporting your slideshow” section for how to make a print of your slideshow in more traditional print format.
![]() these icons are your undo and re-do buttons.
these icons are your undo and re-do buttons.
![]() use this icon to paste in the same format of text you have from another slide.
use this icon to paste in the same format of text you have from another slide.
![]() this is usually always selected because this arrow tool is how you move all your elements around.
this is usually always selected because this arrow tool is how you move all your elements around.
![]() Insert a text-box, insert an image, insert a shape, insert a line.
Insert a text-box, insert an image, insert a shape, insert a line.
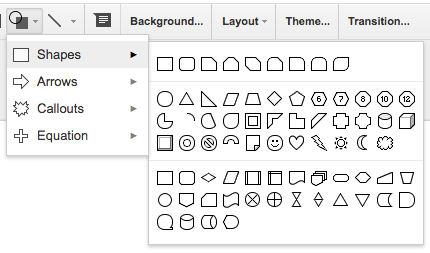
This is an expanded view of shapes. There are TONS of them. Have fun and take a look around.
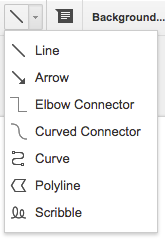
Here is the expanded lines you have available. The last option, scribble, may be useful for having your children practice handwriting.
Text and element options (shows up when editing a text-box)
This is probably best represented by this animation below. If you’ve ever used a word-processing program or Google Docs, than these should be pretty familiar to you.
Importing video into your Slideshow
Remember that master slide I changed to place a video inside it? Here is how I got that video embedded into my slideshow. With Google Slides, you can embed ANY YouTube video or video that’s inside of your Google Drive.
Step 1:
Insert > Video
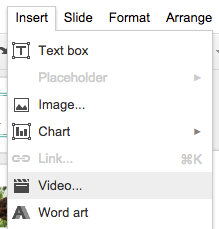
Step 2:
Paste in the URL (or search) for the YouTube video you want.
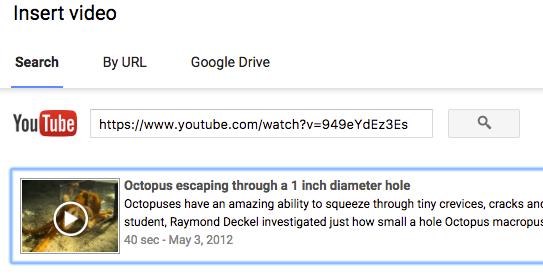
After you’ve selected the video (see blue outline) hit ![]()
Step 3:
That’s it!
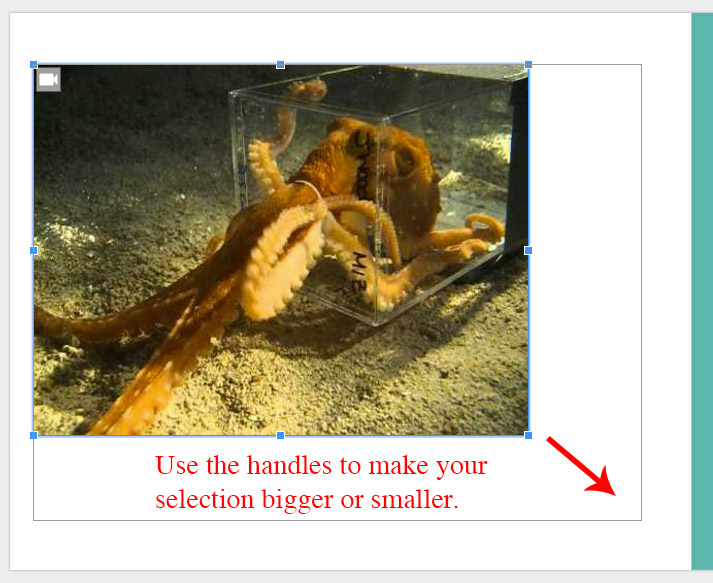
Note* With videos there is no need to hold down SHIFT when dragging to keep proportions, since videos can only be scaled in their native ratio.
Exporting your Slideshow
Downloading your presentation
 These options are under the File menu.
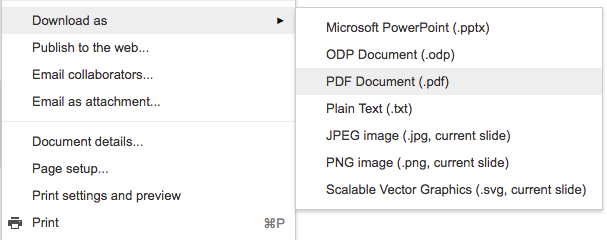
What I want to point out is the Download as option shown here… It’s amazing, you can export the entire presentation as these options shown here.
One cool trick is to format your slideshow in an 8.5×11 format, like a traditional vertical piece of paper using the File > Page Setup > Custom option.
This way you could export a PDF or make print your slideshow in a traditional vertical page format.
Publishing your presentation
 Just as you would have exported your slideshow to an external file-format, you can also publish your presentation to the web.
*Publishing to the web does NOT mean Google will be able to see your slideshow or people can find it! Think of publishing your Google Slideshow to the web as another way to share or present your slideshow via a URL that’s view only (with the benefits of autoplay and looping abilities).
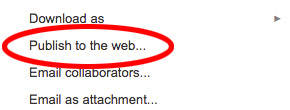
After selecting “Publish to the web…” The default option is to Link your presentation, but you can also Embed your slideshow if you wish to do so. Publishing is great when you don’t want to deal with inputting individual email addresses for who can see it.
Link vs. Embed
Linking publishes your presentation as a URL link with auto-slide transition and looping mechanisms in place. This link method is useful for sharing your presentation as a “view-only” version of your presentation. In other words, only people that have your link will only be able to see your slideshow.
One very useful reason you might want to publish to web > link your presentation is because of the auto slide transitions and/or looping abilities. Anyone ever have use for presenting a hands-free background presentations you can set and forget?
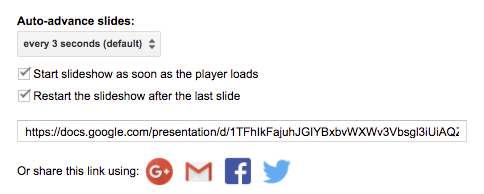 In this example I checked autoplay and restart, so whenever I load this link up in my browser I can choose to play in fullscreen and walk away. Notice also I can share this link via Google+, Gmail (our WWCSD mail now), Facebook, or Twitter.
Note the auto-advance slides… This is where I can change the amount of time between each slide.
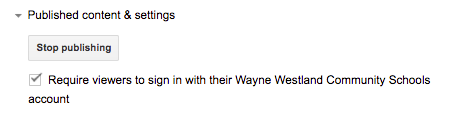
Note also the ability to “lock down” your slideshow to only be accessible with students / staff with out WWCSD email handle. Clicking the Stop publishing option will disable my link from working. So it’s not like I have to worry about it being out there forever…
Embedding can be really useful for publishing your slideshow inside of your website. In other words it’s not an external link but can be placed inside an existing page you’ve already created, so sharing the presentation isn’t necessary if people already have access to your existing website.
Special Note* With Google Sites, you can import slideshows similar to the embed option without having to worry about copying / pasting code.
Video Transitions
You must be logged in to post a comment.