
Creating your own interactive activities in SMART Notebook can be useful in order to create personalized content in your classroom. To create content, you can follow the steps listed below.
Creating a SMART Notebook activity:
- Add items to the Smartboard screen such as boxes, categories or pictures for your activity.
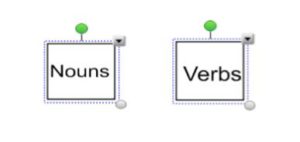
- Lock your categories in place by clicking on the down arrow shown above. Select Lock and then Lock in Place. This will prevent students from moving them around.

Click to enlarge
- Add graphics to fit your categories by clicking the Gallery icon
 Type your category in the search bar.
  You can also just type in words as well.
 - If you find a picture you like just drag it onto your screen. You can also add pictures from other sources as well.
- Click on the Puzzle piece icon
 on the left hand side of your Smart Notebook screen.
 - Click on Activity Builder icon
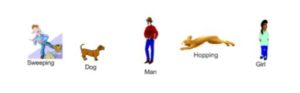
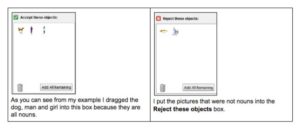
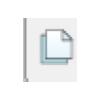
 . Click on the category to sort (Ex. Nouns) and select Identify. Now, you are going to drag all the pictures or words that fit into that category into the Accept these objects box. Next, drag all the words that do not fit into that category into the Reject these objects box. Click Done at the bottom to save.
- Continue this process until all your categories and objects are identified.
Click to enlarge
- Click on the paper icon
 to close the sorting window. Now, it’s time to play the game. Have students drag the items to their categories. If they fit in the category they will disappear when dragged on top of the category. If they do not fit they fill fly back out.
 - To play again click on the puzzle icon and select Reset all.
You must be logged in to post a comment.