Google Slides is a great place to make interactive student activities. You can create manipulatives or drag and drop activities for students to practice sorting, adding, and more. This can mean a lot of moving pieces or confusion for students. We recommend trying these two ideas to make your interactive activities more successful with students.
Please note: if you make an adjustment to your Slides and you have previously “made a copy for each student” in Google Classroom, you will need to make a new post and make a new copy for each student. (You can use the “Reuse post” to do this.) In general, make sure your activity is set before putting it in Classroom and assigning it.
Adding Background “Templates” to Slides
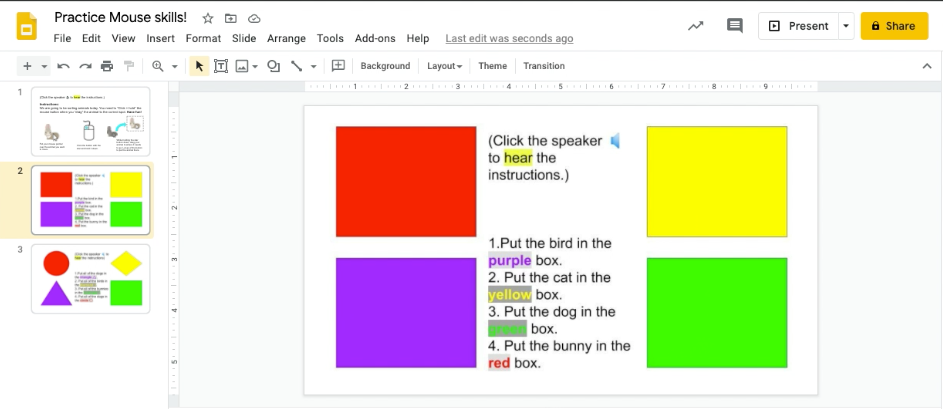
You can set up your slides exactly as you want them and then take a picture to use as a background (and therefore unmoveable by users.) This may be helpful for younger students that only need to manipulate particular items but not every component of the slide.
To do this:
- Open Slides and set your slide template. (ie boxes in correct locations, text in specific spots, etc.) This should not include any interactive parts, such as audio clips or text boxes, since this is just going to capture a picture of this.
- Go to File → Download as → Choose either .jpg or .png
- This will only do the current slide
- JPGs include the background on the slide; PNGs only include the objects
- Make sure your file is in Google Drive
- Save it in Google Drive, or
- Open Google Drive in a new tab – “drag and drop” the file that downloaded at the bottom of the browser into Google Drive
- Back in Slides, click the “Background” option (or right click the background of the slide)
- Select “Choose Image” and pick your downloaded image. Close the window.
- Once you see it appear, you can delete anything not meant to be moveable.
Please note: If you insert a background template with text and your students are using a speech to text app they may not be able to read the instructions due to them being changed into an image.
Add Audio Instructions to Google Slides
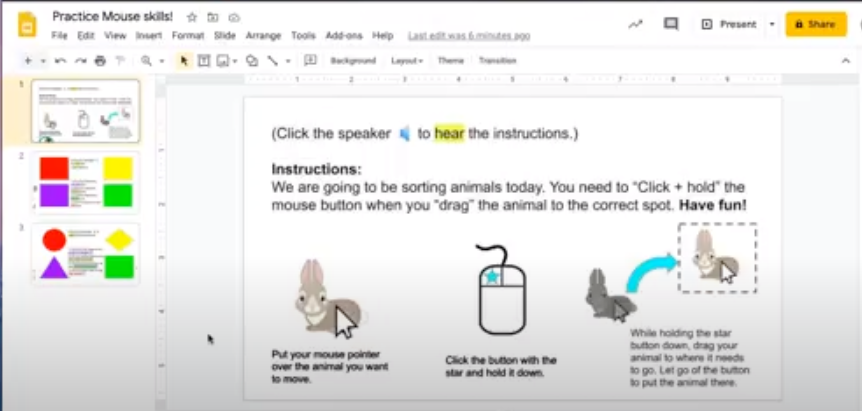
Sometimes it would be beneficial for students to hear the directions. You can add audio into any Google Slide as a clickable button but you cannot record from within Google Slides. For this example, I used the site “Vocaroo” which is a pretty basic site for audio recording. You can visit it at Vocaroo.com.
Creating your audio file (using Vocaroo)
- Go to Vocaroo.com
- Click the red microphone to record; stop recording by clicking the red stop button.
- Preview your recording and choose “save” if done. Alternatively you can click the “redo” button to delete and re-record.
- Download and choose where you want to save the file
- Ultimately you want to upload it to your Google Drive
- You can use the upload file option but it will only allow a certain amount of files that way since it has a size limit. If you are linking from your Google Drive it doesn’t have an issue with the file size.
- You can use the URL link to share the file but it will be saved on Vocaroo’s site instead of saved in your Google Drive (where it may be easier to keep organized vs a link.)
Adding an audio file to Google Slides
- Before adding to your Slides, check that the audio file is shared with your audience. This may be just your students or it could be anyone with the link. Personally, I keep all my audio files in a single Drive folder I have shared with anyone with the link in the district. Then when I add a new audio file I know anyone in the district can view it.
- Open your Slides and find the specific slide you want to add the audio file.
- Go to Insert → Audio → Select your file
- Resize the speaker button if desired and adjust any audio settings
*******************
These may be two relatively easy things that can help your students interact with your activities. If you need any assistance with this, please contact your Instructional Technology team.


You must be logged in to post a comment.