
Update December 2020 – Unfortunately Google has made the decision to discontinue Tour Builder as of July 2021. Google Earth offers a similar option as Tour Builder called “Projects”. All tours will need to be imported into Google Earth before then as previous content will be removed.
Google Tour Builder allows users to create their own digital tour. Users can include photos, descriptions, and 360° Street views. Tours can originate from a single point, can follow a route/timeline, or be unconnected. Completed tours can also be imported to Google Earth for a different experience than the basic interface. These tours are similar to a Voyage in Google Earth. (If you haven’t seen a voyage, open Google Earth and click on the ship’s wheel on the left hand menu to view curated “voyages” with information.)
Users can include photos, descriptions, and 360° Street views. Tours can originate from a single point, can follow a route/timeline, or be unconnected. Completed tours can also be imported to Google Earth for a different experience than the basic interface.
Classroom Technology Integration Ideas:
- Create a biographical timeline of a famous person ( ex: Track Magellan’s voyages around the world or Alexander the Great’s conquests)
- Make a virtual tour guide of a state or famous place (ex: Top 10 places to visit in Michigan)
- Mark major historical locations (ex: The 7 Wonders of the Ancient World)
If you are using this in Google Classroom, users can share their link under an assignment or if they can individually share the tour with others.
They can also choose to display the map or Streetview image of the chosen location.
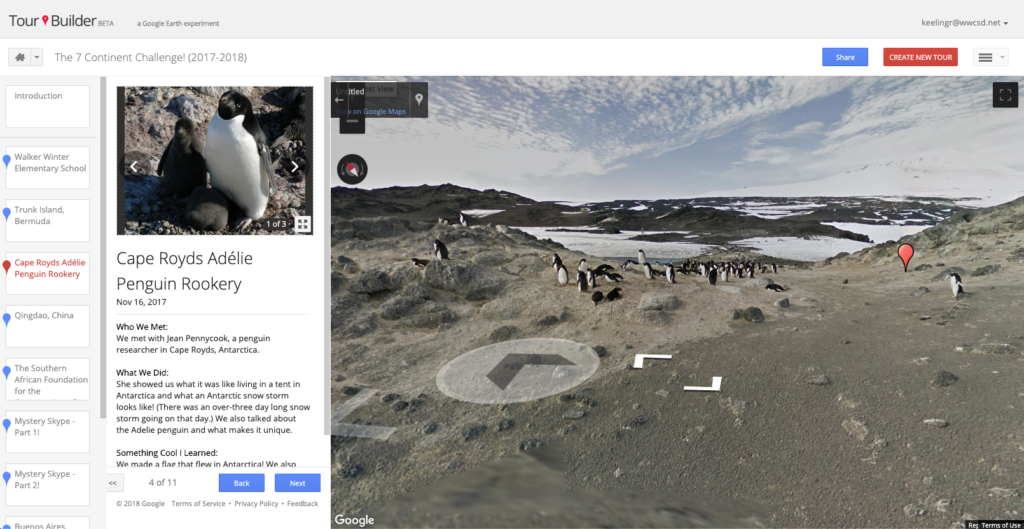
(7 Continent Challenge Tour, with help from Mr. Kozaczynski’s 2nd grade class)
To Create a Tour:
- Go to https://tourbuilder.withgoogle.com/
- Choose “Sign in” in the upper right corner and login using your Google credentials
- Choose the red “Create a tour” button
- Add the title
- Add the author (student name)
- Create your introduction/cover
- Add a cover photo
- Add a description of the tour/story
- Decide how you want the points on the tour to appear
- Story – follows a “route” from point to point (good for timelined events or specific directions)
- Hub – All “routes” radiate from the first location position (distance from one point to multiple points)
- Disabled – no connecting “routes” (only icons will appear)
- Choose a path color (if desired)
- Add points of interest
- Click the +Add Location blue button (left menu)
- Type the location you are looking for
- Can be specific or general
- Drag the Streetview “man” to view the area (left of the map, drag the orange man to a blue route on the map to view the street view for the area)
- When you have found the person, click the “add to tour”
- Put in details to each point of interest
- Rename the title
- Add photos or videos* (*videos may not be enabled for students to add)
- Add descriptions
- Information will be shown to those viewing the tour
- Can add links (or site their sources)
- Change Icon
- Share (via Share Button)
- Invite specific people
- Enable Link sharing (Anyone who has the link can view)
- If enabled can be shared via Google Classroom
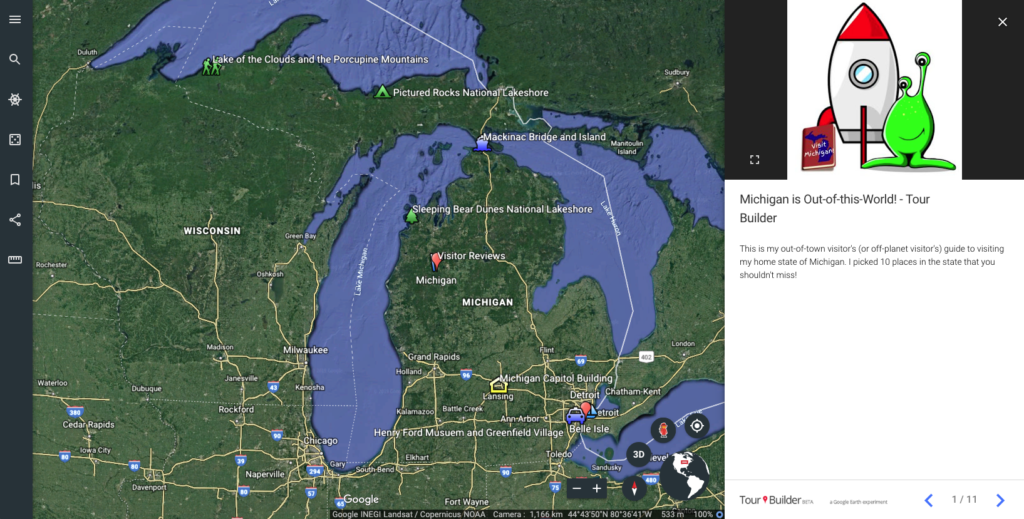
(Michigan is Out-of-this-World! tour)
Sample Tours:
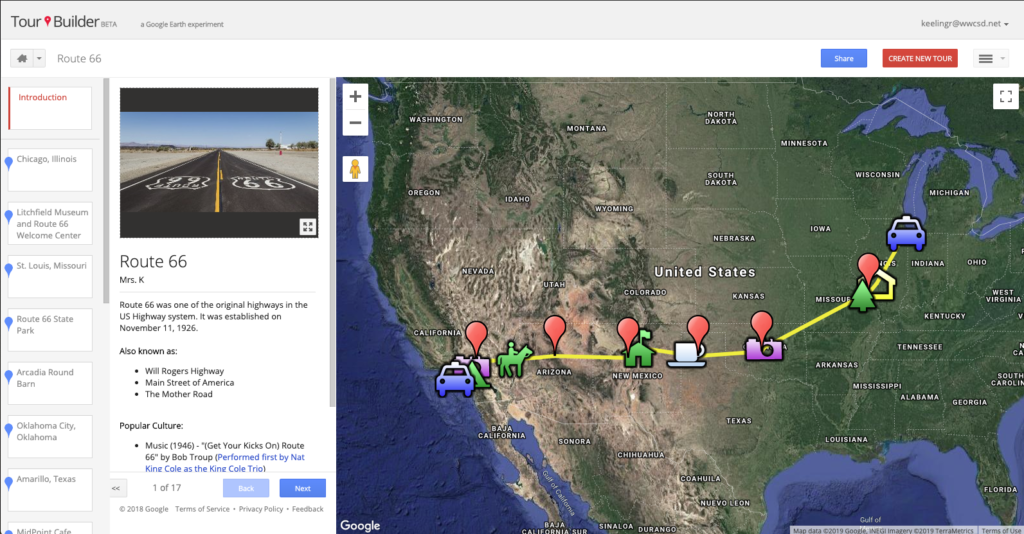
- Route 66 Tour (Secondary Example)
- Michigan Tour (Upper Elementary Example, more in depth)
- Michigan is Out-of-this-World! (Elementary Example; Sample Assignment)
- 7 Continent Video Call Challenge (Elementary Example)
You must be logged in to post a comment.