
What is screencasting?
Screencasting is when you record yourself (visually or just your voice) while demonstrating something on your screen. Examples of this could be simple instructions or a demonstration of how to do something. All that is required are a microphone and a webcam. In district teachers have the option of using a Chrome device or using the webcam that may be in the classroom (usually attached to the Smartboard.)
Classroom Ideas
With more people turning to videos for instruction, such as those from Youtube, why not reach your audience on a different level? Using a screencast you can:
-
-
- Create visual instructions for a specific task
- Teach your students how to do something when you are out (video sub plans!)
- Flip your classroom and give students something to reference (post the links for absent students to use later)
- Have students narrate a presentation (then send you the link for review – great practice for presenting)
-
There are many different ways to do this; in the Instructional Technology department we tend to use a Chrome extension called Screencastify.
There are many different options for screencasting or recording yourself. We are just demonstrating one that works well in our experience with our Chrome and Google Suite district setup.
What can Screencastify do?
-
-
- Record your voice and screen
- Record you (via your webcam)
- Record your screen and embed a small video of yourself in the bottom of the screen
-
How do I get Screencastify?
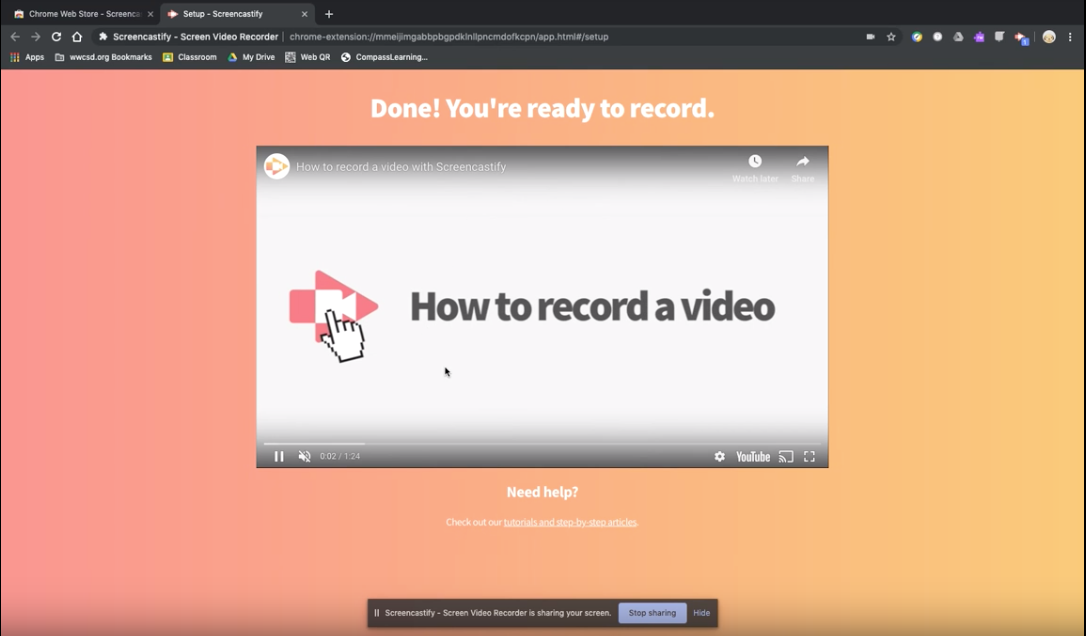
Click to open video instructions/example Available only to WWCSD accounts
Screencastify is an extension that attaches to your Chrome profile. Once it is added to your profile you will have access to it on any device in which you are signed into the Chrome browser (ie a Chromebook, personal desktop, etc.) Note: this allows users 50 free screencasts a calendar month unless you have premium version. (There is the “do over” button which allows you to re-record a screencast; more on this below.)
- Go to the Chrome web store.
- In the upper left search box type “Screencastify”
- Choose the “Add to Chrome” button to the right on the Screencastify search result
- Once added, do the initial setup
- Click the orange arrow (extension icon)
- Sign in with your Google account
- Accept the permissions (use microphone, camera, etc)
- Watch the “How to Screencast” video (optional)
You’re ready to screencast!
Creating a screencast
- Click the orange Screencastify arrow icon to start you screencast.
- Choose if you want to record your browser tab, desktop, or use your webcam only. (You can also choose to embed your webcam if desired.)
- Make sure your microphone volume bar is moving (if it’s not you may need to select your microphone from the dropdown menu next to it.)
- Click record, follow the prompt, and begin recording! When you are done, click the “done recording” button at the bottom of the screen. You can also click the orange Screencastify arrow icon to choose to pause, stop or “do over” your screencast.
You must be logged in to post a comment.