
Creative writing can be done outside of Google Docs! Google Forms and Slides offers a unique opportunity for students to demonstrate creative writing by creating “Choose your own adventure” stories.
What is a “Choose Your Own Adventure” story?
These story types have multiple pieces of plot or endings that based on a reader’s choice(s) can create multiple versions of the same story. Readers will start reading until presented with a choice. The choice could be a link to a new slide (Google Slides) or a multiple choice question in Forms that directs the reader to a new option. From that point, the reader will continue until presented with a new choice until the story “ends”.
Why should students try this?
- Creativity – this allows for multiple different options from within the same story and for the writer(s) to explore different options that might have been dismissed previously
- Critical thinking – writer(s) will have to map out how the story will “flow” to reach eventual outcomes
- Collaboration and communication – multiple writers can create a story together! Using the Share/Collaborator features in Slides and Forms, writers can create multiple options separately or together for their readers
Creating a “Choose Your Own Adventure” story
Below are two different ways to present this type of story. When creating the actual story, students may want to “map” parts of the story in Docs, Drawings, or even Sheets. A flow chart may be effective when drafting these stories (especially if there is overlap with plot). Depending on how the writer works, they could create the story separately and then choose how to present it – or they could write it as they go. On another note, you could create the story in Google Docs or similar (and do some hyperlinking within the document) but I personally find the following to be easier for the reader to use (especially the Forms version).
Google Slides – Linking to slides within a slide deck
- Pros: Easy to set up; most have used Google Slides before
- Cons: If readers don’t click the links then they can be sent to the incorrect part of the story; readers can jump ahead to different slides using the advance buttons
Creating the story:
-
Open Slides and create a new presentation
Want to try my story made in Slides? View “A Topsy-Turvey School Day” (Slides version)
- Create a title slide
- I usually add a note about “only click on the __color__ links to make the your story choices” on the title page
- Put each “chunk” of story on a different slide
- Add the “choices” at the bottom of the slide (Tip: if you need more than one slide for that part of the story, make a “continue” link at the bottom instead)
- Highlight the choice text and click the link icon

- In the pop-up menu, choose “Slides in this presentation” (See picture to right)
- Choose the slide to link the answer
- Check your story
- Make sure all the parts of your story goes to the correct links
- Personalize your slide deck and share your creation!
Google Forms – Directing readers to different sections based on their answers
- Pros: Readers cannot jump around (unless they hit the back button), users can “submit another answer” to try another version
- Cons: Can be more difficult to set up unless the writer is familiar with Forms
Creating the Story:
- Open Google Forms and create a new Form
- Create a title for your story
- Suggestion – Add a note that the story will change based on the readers choice
- Create new sections for each chunk of the story
- Write the title for the section in the Section title spot (this will make it easier to link later)
- Write your story “chunk” below
- Create a decision point (if needed, view our previous post about how to do this for more clarification)
- Add a multiple choice question to a section.
- Toggle the question to “required”
- Click the triple dots in the bottom right of the question and select “Go to section based on answer”
- Choose the section for each possible answer
- Choose a new section after completing the original section
- Click the drop down located at the bottom of the section marked “After section #, Go to next section” and choose the desired section
- Tip: Always choose the section rather than choosing “next section” in case you move sections around.
- Add a multiple choice question to a section.
- Preview the Form using the eye icon in the upper right
- Check that all the links work correctly in the new preview tab
- Fix any issues in the editing tab (refresh the preview to see them reflected automatically)
- Personalize and share your Form!
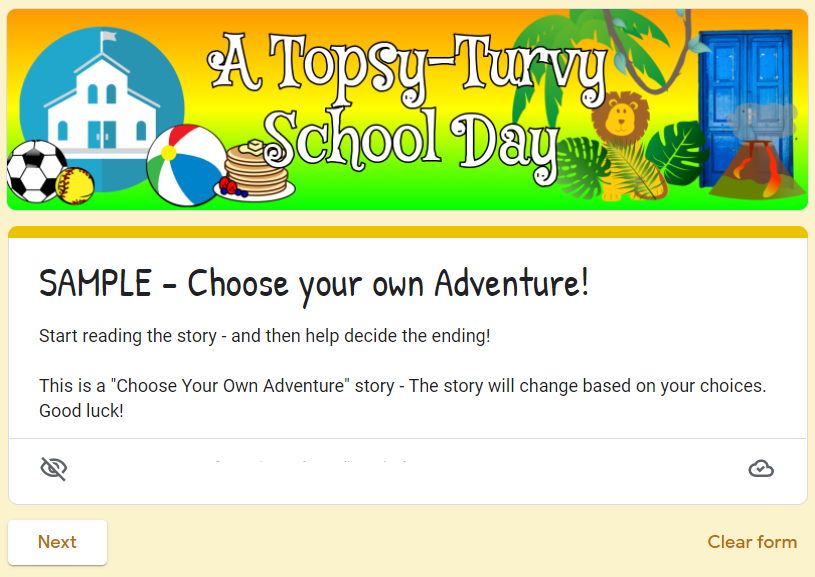 Want to try my story made in Forms? View “A Topsy-Turvey School Day” (Forms version)
Note: this version was created as a sample to give students and allows them to contribute to the ending by adding a writing prompt. This is a great way to involve them or perhaps create a “living” story that the students contribute to. I didn’t make this a required question because I wanted it to be optional for the students to choose to contribute.
You must be logged in to post a comment.