
Google Earth is an amazing tool for integrating some geography into a lesson. Users can investigate different locations, measure distance and area of a specific location using the ruler tool, or view different “voyages” submitted by experts and organizations. Voyager (the ship’s wheel icon) has many different possibilities for users to explore specific topics in a media rich project. (See our Google Earth 101 post for more info on Voyager)
The best part? Users can create their own!
Projects (the place mark icon) allows users to create immersive tours. (For those that previously used Tour Builder, this is similar but now integrated with Earth.) Users can direct viewers to different locations and present their information in an interactive project.
With Projects, users can:
- Choose and edit their locations including the views and images presented (3D mapping, street view, overview, etc)
- Add and edit text with links and references
- Add media (such as photos or videos) to enhance their content
- Collaborate with others (Projects can be shared, although there is no Version History available for this feature)
Why use this in the classroom?
- Offers the ability to create interactive presentations about anywhere in the world
- Foreign Language – create a history of the region or a mock travel guide
- Science – detail different landforms or geographic features
- Math – calculate distance or area of location(s)
- ELA – create a story map by retracing the locations in the book or the author’s biography
- Social Studies – collaborate on a class map about a period of history (travel routes such as the Silk Road, ancient civilizations, etc)
- Users can collaborate with others to create
- Helps reinforce geography concepts
Create your own Google Earth Project:
- Open Earth and go to the placemark icon in the left menu
- Select “New Project”
- Title the project and add a description. The description will show up in Earth but not as part of your project.
- Share if you are collaborating with someone. (Click the Share icon above the title to share. To allow someone to view the presentation, you will give them view permissions – see Step 8 below.)
- Add your features – Click the “New Feature” to choose from the following list:
- Search to add place – Search as you would in Google Earth or Maps to add a location. Once you find the location you want, on the tile card you can choose to “Add to Project”
- Add placemark – Put a placemark anywhere on the map and add your information. (This is helpful when Google cannot find your specific request such as a shipwreck.)
- Draw line or shape – You can add lines connecting points or outline a shape around. (Some examples could be a line of travel you want to note or perhaps outlining a historic region that no longer exists.)
- Add folder – You can create folders for locations in your projects. (I have not found this to be as successful when presenting but the option is available if you are interested.)
- Fullscreen slide – A full screen overlay slide will be added to the project. (If you have looked at Voyager before these are very similar.)
- Tile overlay – Add an info tile to the side of the screen. Note: One will be available for each place/shape/line you add as well, this is a general overlay.
- Edit the features – For all features there will be some unique options. For all options you can preview each feature by clicking the “Preview” button in the upper right of the edit box.
- Places/Placemarks – Edit the title, description (Google’s info is a default you can remove), choose the size of the info box, the icon color and style, and manually adjust the view (there is a “capture this view) to the lower right of the edit box)
- Lines/Shapes – Edit the shape/points, choose the color of the outline/shading, add a tile overlay, and manually adjust the view
- Fullscreen slide/Tile overlay – Adjust the text and title of each as it is presented, and add media (if applicable)
- Finalize the project.
- Drag features to reorder in the presentation list (they will be presented in order)
- Click a feature – choose the pencil to edit, the preview eye to hide/unhide the feature, or the trash can to remove.
- Present your work and share with viewers – Click Present to open your presentation. Note: if you want to users to view on their own, you will have to change the sharing permissions to view for each individual or change the link settings. If you want someone to be able to edit the project, you will need to share as described in step 4.
Ready to get started?
These samples are available to WWCSD only:
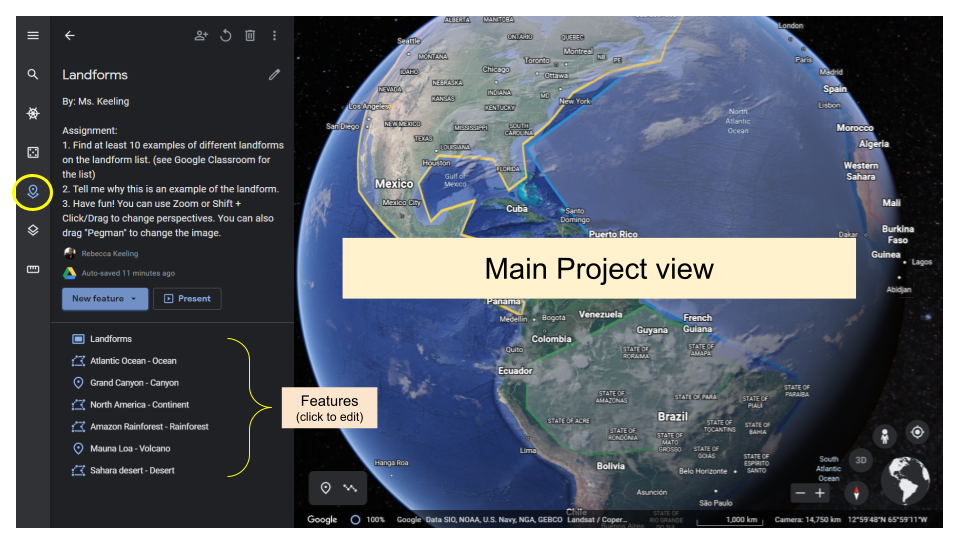
- Landforms (Elementary/Middle) sample – the directions were to add 10 examples of different landforms and give a reason why it represents this landform. (Also featured in the video walkthrough below)
- Out-of-this-World Michigan Tour sample – the directions are to create a “tour guide” of Michigan for an extraterrestrial visitor to the state
Video walkthrough with the tips from above:
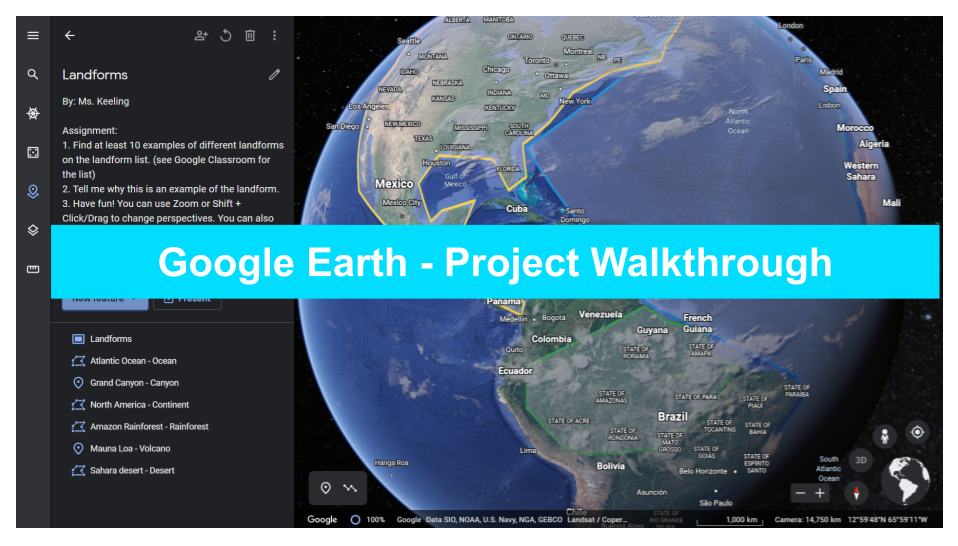
Click image to view video walkthrough (Available to WWCSD only)
You must be logged in to post a comment.